All Categories
Featured
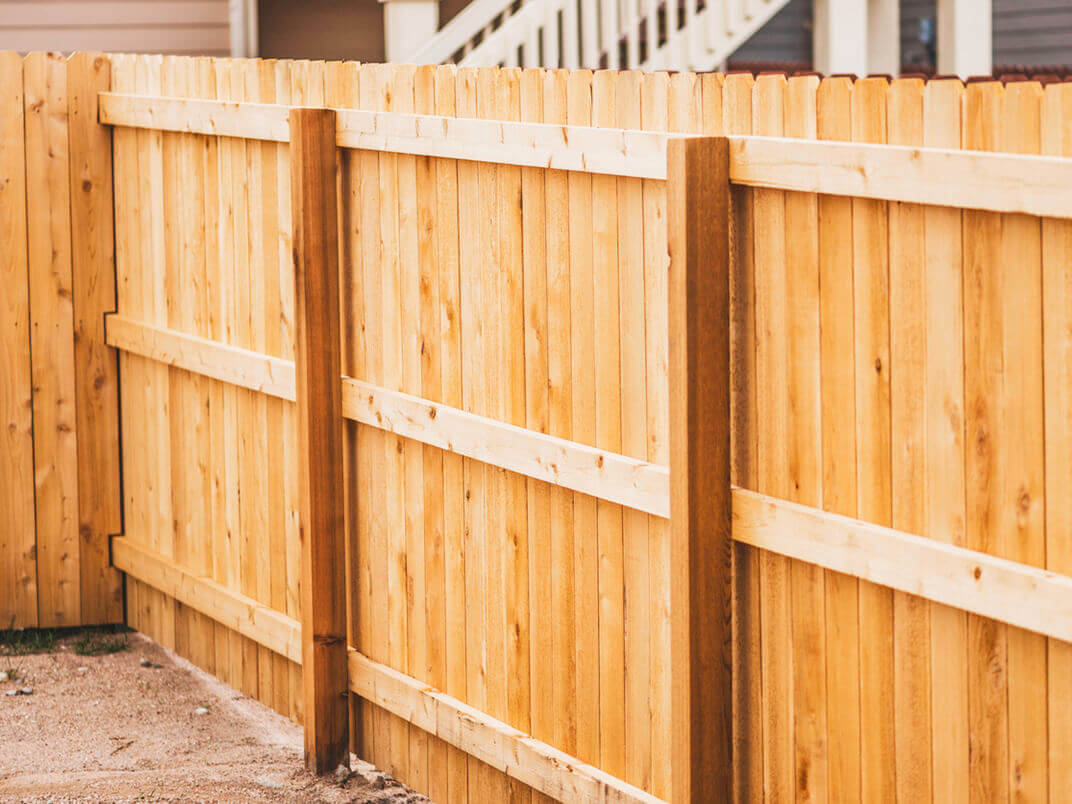
Fencing posts play a vital function in maintaining the stability and look of your fence. When a blog post leans or ends up being damaged, it's important to address the issue without delay to avoid additional degeneration. Below's an in-depth guide on how to take care of a leaning or damaged fencing message effortlessly.
Step 1: Identify the Source Of the Issue
Recognizing why your fence message is leaning or damaged is key to applying the appropriate solution. Usual reasons consist of:
Dirt erosion or loose ground
Rot or degeneration in wood blog posts
Physical damage from climate or impact
![]()
Inadequate installment or incorrect securing
Determining the cause assists make certain the issue won't persist after fixing.
Step 2: Collect Tools and Products
You'll need the following products:
Shovel or message opening digger
Pierce or hammer
Level
Gravel or concrete mix
Replacement message (if necessary)
If needed),Saw (for reducing timber.
Article fixing braces or supports (optional)
Step 3: Repairing a Leaning Fence Article
If the post is leaning but not harmed, right here's just how to fix it:
Dig Around the Base. Use a shovel to dig around the leaning article, subjecting its base and loosening up the soil.
Correct the Blog Post. Make use of a level to inspect upright alignment. Have somebody hold the message upright while you change it.
Reinforce the Base
For Crushed Rock: Load the hole with gravel, tamping it down as you most likely to guarantee stability.
For Concrete: Pour concrete right into the opening around the base of the message, guaranteeing it fills all voids.
Secure and Set. Allow the concrete to heal for a minimum of 1 day. The blog post must remain upright. once it's solid.
Action 4: Replacing a Damaged Article
![]()
When a blog post is broken or rotten, substitute is commonly the very best remedy.
Remove the Old Article. Dig out the harmed blog post along with any kind of concrete footing. You might need a lever for stubborn pieces.
Prepare the Opening. Clean the opening and make it slightly bigger if necessary. Make certain the depth is at the very least one-third the blog post's complete length for security.
Set Up the New Article. Area the brand-new message in the red and check placement with a degree. Protect it momentarily with stakes or braces.
Secure and load. Use crushed rock or concrete to fill the hole, putting or tamping as needed. Let the material set prior to attaching fencing panels or rails.
Step 5: Protect Against Future Issues.
To maintain your fence posts strong and long lasting, comply with these ideas:
Use pressure-treated wood or steel messages immune to rot and degeneration.
Make sure appropriate drainage to stop water from merging at the base.
Inspect your fencing annually for signs of wear or instability.
Verdict
Repairing a leaning or damaged fence post is a manageable do it yourself job that can save you money and time. By recognizing the issue, using the right products, and complying with these actions, you can restore your fence to its original condition. Regular maintenance and prompt repair services will certainly guarantee your fence continues to be a strong and attractive attribute of your residential property for several years to come.
Step 1: Identify the Source Of the Issue
Recognizing why your fence message is leaning or damaged is key to applying the appropriate solution. Usual reasons consist of:
Dirt erosion or loose ground
Rot or degeneration in wood blog posts
Physical damage from climate or impact
Inadequate installment or incorrect securing
Determining the cause assists make certain the issue won't persist after fixing.
Step 2: Collect Tools and Products
You'll need the following products:
Shovel or message opening digger
Pierce or hammer
Level
Gravel or concrete mix
Replacement message (if necessary)
If needed),Saw (for reducing timber.
Article fixing braces or supports (optional)
Step 3: Repairing a Leaning Fence Article
If the post is leaning but not harmed, right here's just how to fix it:
Dig Around the Base. Use a shovel to dig around the leaning article, subjecting its base and loosening up the soil.
Correct the Blog Post. Make use of a level to inspect upright alignment. Have somebody hold the message upright while you change it.
Reinforce the Base
For Crushed Rock: Load the hole with gravel, tamping it down as you most likely to guarantee stability.
For Concrete: Pour concrete right into the opening around the base of the message, guaranteeing it fills all voids.
Secure and Set. Allow the concrete to heal for a minimum of 1 day. The blog post must remain upright. once it's solid.
Action 4: Replacing a Damaged Article
When a blog post is broken or rotten, substitute is commonly the very best remedy.
Remove the Old Article. Dig out the harmed blog post along with any kind of concrete footing. You might need a lever for stubborn pieces.
Prepare the Opening. Clean the opening and make it slightly bigger if necessary. Make certain the depth is at the very least one-third the blog post's complete length for security.
Set Up the New Article. Area the brand-new message in the red and check placement with a degree. Protect it momentarily with stakes or braces.
Secure and load. Use crushed rock or concrete to fill the hole, putting or tamping as needed. Let the material set prior to attaching fencing panels or rails.
Step 5: Protect Against Future Issues.
To maintain your fence posts strong and long lasting, comply with these ideas:
Use pressure-treated wood or steel messages immune to rot and degeneration.
Make sure appropriate drainage to stop water from merging at the base.
Inspect your fencing annually for signs of wear or instability.
Verdict
Repairing a leaning or damaged fence post is a manageable do it yourself job that can save you money and time. By recognizing the issue, using the right products, and complying with these actions, you can restore your fence to its original condition. Regular maintenance and prompt repair services will certainly guarantee your fence continues to be a strong and attractive attribute of your residential property for several years to come.
Latest Posts
Uncover the Premier Auto Repair Offers in Montclare, Chicago
Published May 28, 25
1 min read
Improve Your Residential Property with Expenses Door Solution
Published May 23, 25
1 min read
Discover Reduce Expenses on Car Maintenance with Montclare Auto Repair’s Special Deals
Published May 18, 25
1 min read
More
Latest Posts
Uncover the Premier Auto Repair Offers in Montclare, Chicago
Published May 28, 25
1 min read
Improve Your Residential Property with Expenses Door Solution
Published May 23, 25
1 min read
Discover Reduce Expenses on Car Maintenance with Montclare Auto Repair’s Special Deals
Published May 18, 25
1 min read